
Safety Precautions and Warnings
Always read the operator’s manual before using the Ryobi table saw. Ensure proper blade alignment and avoid improper cuts. Wear protective gear and follow all safety guidelines.
1.1. General Safety Guidelines
Always read and understand the operator’s manual before using the Ryobi table saw. Wear protective gear, including safety glasses and a dust mask. Ensure loose clothing or jewelry does not obstruct operation. Keep children and bystanders away from the work area. Maintain a clean and well-lit workspace to prevent accidents. Never operate the saw when fatigued or under the influence of drugs or alcohol. Ensure the blade is properly aligned and secured before use. Avoid unauthorized modifications to the saw or accessories. Follow all safety warnings and instructions provided in the manual to ensure safe and efficient operation.
1.2. Specific Warnings for Table Saw Operation
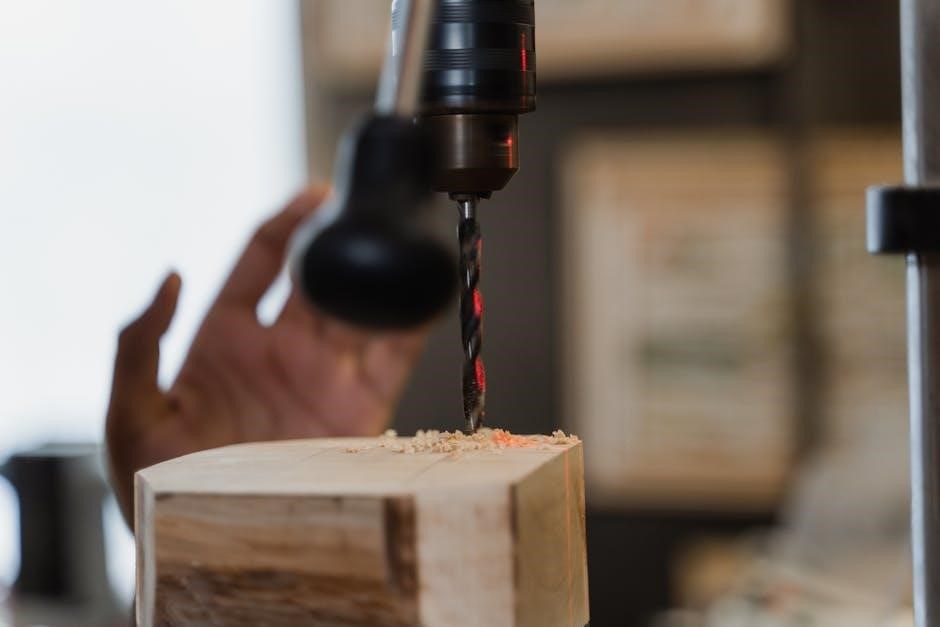
Never start the saw with the blade touching the workpiece. Always allow the motor to reach full speed before making a cut. Avoid cutting curves, seams, or notches unless specified in the manual. Keep hands and fingers away from the blade during operation. Use a push stick or other safety devices to maintain control of the material. Do not leave the saw unattended while it is running. Disconnect the power source before performing maintenance or changing accessories. Ensure the miter table and saw arm are properly aligned before use. Never perform cuts that are not explicitly described in the operating instructions to prevent accidents and damage to the tool.
Understanding Your Ryobi Table Saw
Your Ryobi table saw features a 10-inch blade, robust steel frame, and 13A motor for powerful performance. It includes integrated storage for accessories and tools.
2.1. Key Features and Specifications
The Ryobi table saw is equipped with a 10-inch saw blade, offering a 3-1/8 inch maximum cutting depth at 90 degrees. Its 13A motor delivers consistent power for smooth cuts. The saw features a durable steel frame, enhancing stability and durability. Integrated on-board storage keeps accessories organized and within reach. The table measures 20 inches by 27 inches, providing ample workspace. It supports miter cuts, bevel cuts, and cross cuts, making it versatile for various woodworking tasks. The saw operates on 230-240V power, requiring a 10A circuit for optimal performance.
2.2. Components and Accessories
The Ryobi table saw includes essential components like the saw table, blade guard, miter gauge, and rip fence. Accessories such as the on/off switch key, blade wrench, and push stick ensure safe and efficient operation. The integrated storage compartment keeps all tools and manuals organized. Additional components like the saw arm and riving knife enhance functionality. These parts are designed to meet high standards for durability and ease of use, ensuring precise cuts and reliable performance. The comprehensive set of accessories allows users to tackle various woodworking projects effectively.
Assembly and Installation
Begin by unboxing and inventorying all components. Follow step-by-step instructions for assembling the table saw, ensuring proper alignment of the blade and miter gauge. Complete setup carefully.
3.1. Unboxing and Inventory
Start by carefully unboxing your Ryobi table saw. Check all components against the list in the manual to ensure nothing is missing or damaged; This includes the saw table, motor, blade, miter gauge, rip fence, and any accessories like the on/off switch key. Inspect each part for visible damage or defects. If any items are missing or damaged, contact Ryobi customer service immediately. Properly organize the components to avoid misplacement. Familiarize yourself with each part’s purpose before proceeding to assembly. This step ensures a smooth and safe setup process, preventing potential issues during operation. Always refer to the manual for guidance.
3.2. Step-by-Step Assembly Instructions
Begin by attaching the stand to the table saw base using the provided hardware. Next, install the rip fence, ensuring it aligns parallel to the blade. Attach the miter gauge to the table, checking its proper fit and alignment. Secure the motor assembly according to the manual’s instructions, making sure all bolts are tightened evenly. Install the blade, following the manufacturer’s guidelines for proper installation and safety. Finally, connect the power cord and test the saw at a low speed to ensure smooth operation. Always refer to the manual for specific torque values and alignment adjustments. Double-check all connections before first use.
3.3. Proper Installation and Setup
Position the assembled table saw on a level, stable work surface, ensuring the floor is even to prevent vibration. Connect the saw to a 230-240V power supply with a 10A circuit. Install the blade guard and anti-kickback pawls to enhance safety. Adjust the rip fence to ensure it is parallel to the blade, and calibrate the miter gauge for accurate cuts. Check the blade alignment and ensure all moving parts are lubricated as specified. Secure any loose components and test the saw at a low speed to confirm proper operation. Always follow the manual’s setup guidelines for optimal performance and safety. Ensure the saw is grounded and all safety devices are functional before first use.
Operating the Table Saw
To operate safely, start the saw with the blade clear of materials. Use the on/off switch, let the blade reach full speed before cutting. Keep hands away, ensure guards are in place. Turn off before adjustments or disconnecting. Secure the workpiece to prevent accidents and maintain control.
4.1. Starting and Stopping the Saw
Before starting, ensure the blade is free from obstructions and the workpiece is secure. Press the on/off switch to power the saw, allowing the blade to reach full speed before making cuts. Never start the saw with the blade touching the material. When stopping, turn off the power and wait for the blade to stop completely before making adjustments or disconnecting. Always remove the on/off switch key when the saw is not in use to prevent unauthorized operation. Maintain control of the saw at all times, and keep hands and loose clothing away from the cutting area for optimal safety.
4.2. Making Basic Cuts (Cross Cuts, Miter Cuts, Bevel Cuts)
For cross cuts, align the wood with the blade and use the fence for accuracy. Miter cuts require setting the miter gauge to the desired angle and guiding the wood smoothly through the blade. Bevel cuts involve tilting the blade; adjust the angle as needed and maintain consistent pressure. Always ensure the workpiece is secure and use proper techniques to avoid kickback. Keep hands and loose clothing away from the cutting area. Double-check alignments before making any cut. Use the provided accessories like the miter gauge or rip fence for precise results. Follow the operator’s manual for detailed instructions on each type of cut to ensure safety and accuracy.
4.3. Advanced Cutting Techniques
Advanced cutting techniques on your Ryobi table saw include compound cuts, which combine miter and bevel angles for intricate designs. For precise dado joints, use the dado blade set and adjust the width as needed. When performing complex angle cuts, ensure the blade is set to the correct tilt and alignment. Always use the miter gauge or crosscut sled for accurate results. For uneven surfaces, employ the jointing technique to flatten materials before cutting. Maintain consistent feed rates and avoid applying excessive pressure, which can cause kickback. Practice these techniques to enhance your woodworking skills and achieve professional-grade finishes. Always follow safety guidelines and ensure proper setup for each operation.
Maintenance and Troubleshooting
Regularly clean the table saw and lubricate moving parts. Inspect blades for wear and replace as needed. Troubleshoot issues like uneven cuts or motor noise promptly.
5.1. Regular Maintenance Tips
Regular maintenance is crucial for optimal performance of your Ryobi table saw. Start by cleaning the table and fence to ensure smooth operation. Use a soft brush or cloth to remove dust and debris. Lubricate the saw’s moving parts, such as the miter gauge and bevel mechanism, with silicone-based lubricant. Check the blade for dullness or damage and replace it as needed. Inspect the power cord and plug for wear or damage. Store the saw in a dry place to prevent rust. Regularly check and tighten any loose bolts or screws to maintain accuracy and safety.
5.2. Common Issues and Solutions
Addressing common issues with your Ryobi table saw ensures optimal performance. If the blade is misaligned, adjust the fence and miter gauge according to the manual. For uneven cuts, check if the blade is dull or damaged and replace it if necessary. If the motor overheats, ensure proper ventilation and avoid overloading the saw. Dust buildup can cause friction; clean the table and components regularly. For accuracy issues, recalibrate the fence and blade alignment. If the saw vibrates excessively, check for loose bolts or an unbalanced blade. Refer to the troubleshooting section in the manual for detailed solutions to these and other common problems.

Storage and Transport
Store the Ryobi table saw in a dry, secure location. Disconnect the power source and cover the saw to protect from dust. Use a suitable dolly for transport to prevent damage.

6.1. Proper Storage Conditions
Store the Ryobi table saw in a dry, secure location to prevent rust and damage. Disconnect the power source and cover the saw to protect it from dust. Clean the blade and table surface before storage to maintain condition. Use a protective cover to shield against moisture and debris. Ensure the storage area is well-ventilated and away from direct sunlight. Avoid storing heavy objects on or near the saw. Keep the machine upright to prevent damage to internal components. Regularly inspect the saw for wear or damage during storage. Store accessories separately in a labeled container for easy access. Always follow manufacturer guidelines for long-term storage to ensure optimal performance when reused.
6.2. Safe Transport Practices
When transporting the Ryobi table saw, ensure it is securely fastened to prevent movement. Use a sturdy, flat surface or transport cart to maintain stability. Disconnect the power cord and protect the saw with a durable cover. Avoid exposing the tool to harsh weather conditions during transport. Always lift the saw by its sturdy frame, never by the table or blade. Keep loose accessories in separate, secure containers to prevent loss or damage. Follow all local regulations for transporting power tools. Avoid sudden stops or sharp turns while moving the saw. Ensure the transport vehicle is clean and dry to prevent rust or corrosion. Regularly check the saw’s condition after transport to ensure no damage occurred. Store the saw upright in the vehicle to maintain balance and prevent accidents. By following these practices, you can ensure the saw arrives safely at its destination.